Physical Address
304 North Cardinal St.
Dorchester Center, MA 02124
Physical Address
304 North Cardinal St.
Dorchester Center, MA 02124
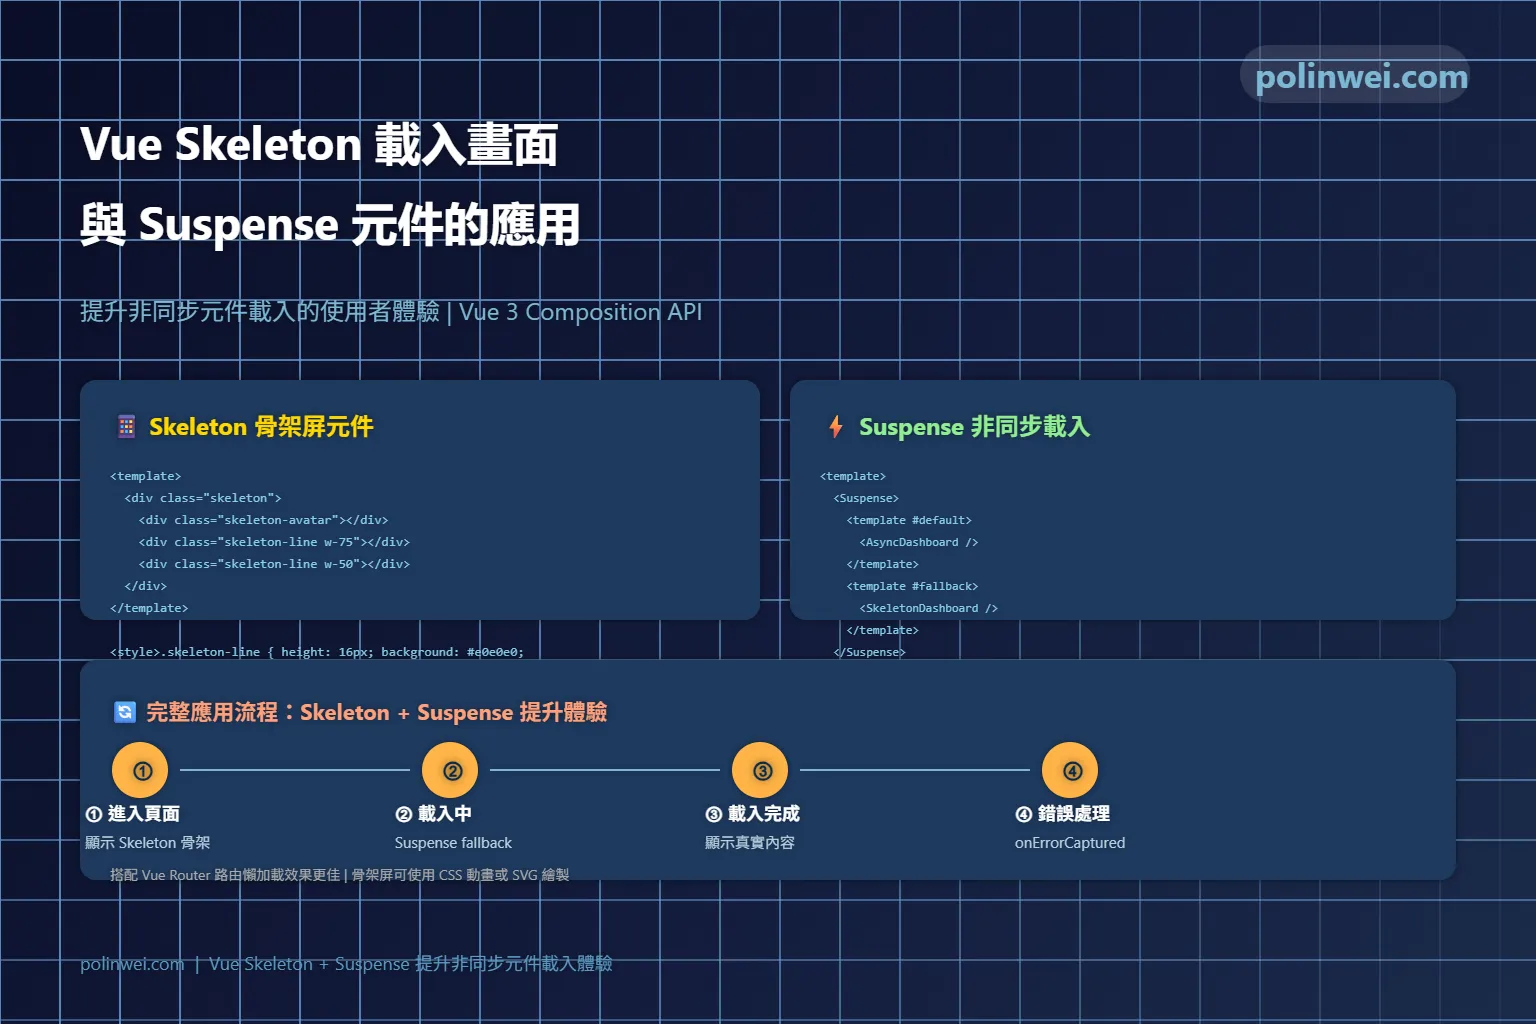
本章將探討 Vue3 的 Suspense 元件如何提升 skeleton 載入狀態的使用者體驗。
Suspend 是 Vue3 的一個內建元件,用於協調元件樹中的非同步依賴項。它可以在等待元件樹中嵌套的多個非同步依賴項解析時渲染載入狀態,它的架構如官方網站說明如下。
<Suspense>
└─ <Dashboard>
   ├─ <Profile>
   │  └─ <FriendStatus> (component with async setup())
   └─ <Content>
      ├─ <ActivityFeed> (async component)
└─ <Stats> (async component)<Suspense> 組件有兩個插槽(slot):#default 和 #fallback。兩個插槽(slot)都只允許一個直接子節點。在可能的時候都將顯示默認槽中的節點。否則將顯示後備槽中的節點。
<Suspense>
  <!-- component with nested async dependencies -->
  <Dashboard />

  <!-- loading state via #fallback slot -->
  <template #fallback>
    Loading...
  </template>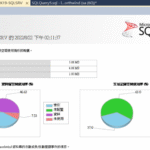
</Suspense>要呈現下圖的效果,將以使用 Vue 的 Suspend 組件來實現

在父階的 Layout 中,加入 Suspend 相關組件
<script setup>
import SkeletonCard from './SkeletonCard.vue';
</script>
<template>
	<Suspense>
		<template #default>
			<router-view></router-view>
		</template>
		<template #fallback>
			<SkeletonCard />
		</template>
	</Suspense>
</template>
設計 Skeleton : SkeletonCard.vue
// SkeletonCard.vue
<template>
    <div class="card">
        <div class="rounded border border-surface-200 dark:border-surface-700 p-6 bg-surface-0 dark:bg-surface-900">
            <div class="flex mb-4">
                <Skeleton shape="circle" size="4rem" class="mr-2"></Skeleton>
                <div>
                    <Skeleton width="10rem" class="mb-2"></Skeleton>
                    <Skeleton width="5rem" class="mb-2"></Skeleton>
                    <Skeleton height=".5rem"></Skeleton>
                </div>
            </div>
            <Skeleton width="100%" height="150px"></Skeleton>
            <div class="flex justify-between mt-4">
                <Skeleton width="4rem" height="2rem"></Skeleton>
                <Skeleton width="4rem" height="2rem"></Skeleton>
            </div>
        </div>
    </div>
</template>

<script setup>
</script>
在運用時,記得 async … await 不可以在 onMounted 裡。
// async ... await 不可以在 onMounted 裡
onMounted(async () => {
    const data = await productService.getProducts();
    products.value = data;
    refreshChart();
});
上面的程式要改成下方,移出onMounted,置放於最上層,suspense 才會生效
onMounted(async () => {

});

const data = await productService.getProducts();
products.value = data;
refreshChart();
等程式加載完成後,網頁內容就會整個呈現出來