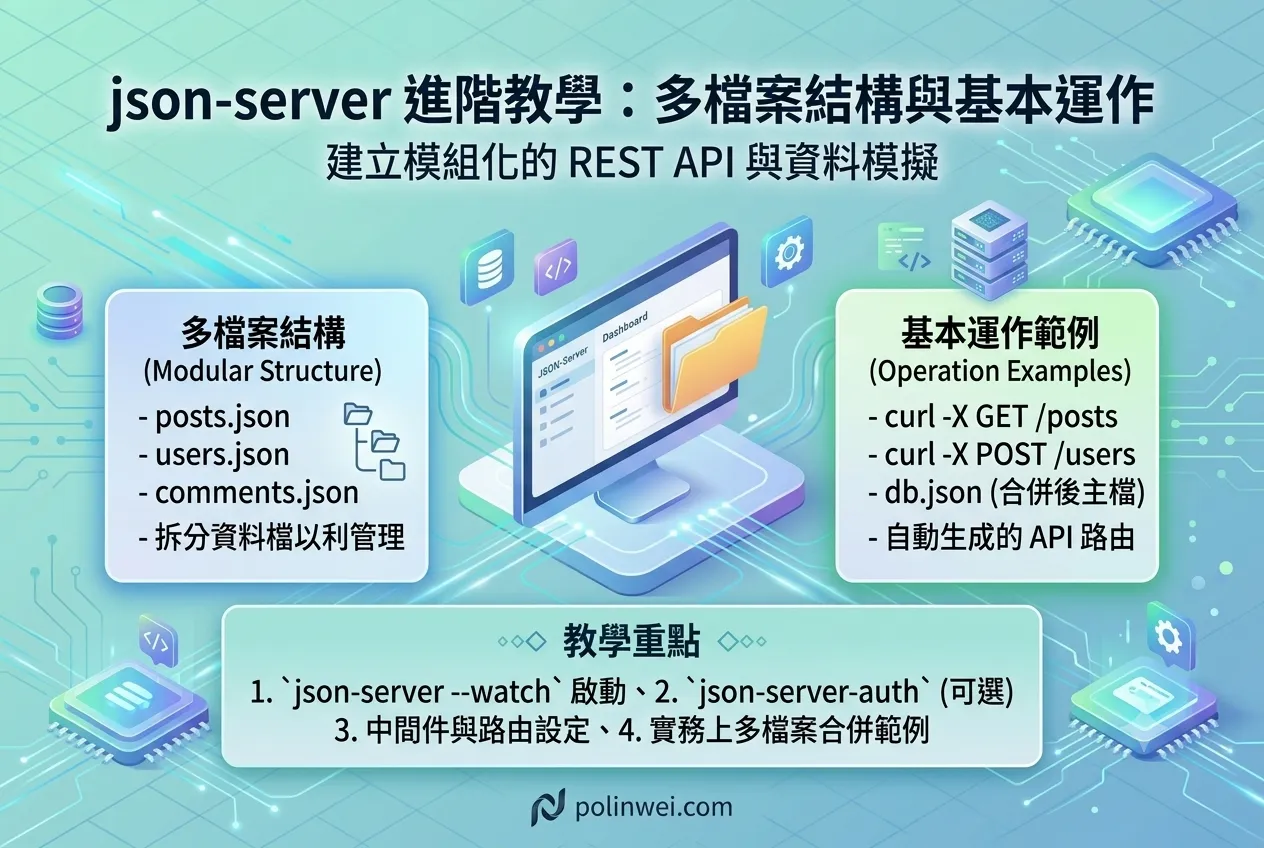
json-server 基本運作與多檔案結構(multiple Json files)
現階段的網頁開發分成前/後端開發,前端開發為避免後端未能及時吐出 restful,這時 json-server 會是個不錯的臨時解決方案。
json-server 安裝過程
a. 安裝 nvm
b. 安裝 nodejs
nvm list available
nvm install 14.15.4
nvm use 14.15.4
npm install -g json-serverc. 啟動指令: json-server db.json
註: 也可以寫在package.json: 此时,直接运行 npm run mock 即可代替 json-server --c config.json db.json 命令了
json-server 提供的 Getting started
a. Create a db.json file with some data
{
  "posts": [
    { "id": 1, "title": "json-server", "author": "typicode" }
  ],
  "comments": [
    { "id": 1, "body": "some comment", "postId": 1 }
  ],
  "profile": { "name": "typicode" }
}b. Start JSON Server
json-server --watch db.jsonc. 執行驗證
可以到網址查看貼文 http://localhost:3000/posts/1
json-server 的配置
建立 config.json 將常用的參數放在裡面, 啟動指令:
json-server --c config.json db.jsondb.json 參數檔如下
{
    "//啟動指令": "json-server --c config.json db.json",
    "//也可以寫在package.json": "此时,直接运行 npm run mock 即可代替 json-server --c config.json db.json 命令了",

    "//default listen port": "3000",
    "port": 5000,

    "//自動監聽變化": "true",
    "watch": true,


    "//是否只能使用GET請求": "false",
    "read-only": false,

    "//是否支持跨域": "false",
    "no-cors": false,

    "//是否支援壓縮": "false",
    "no-gzip": false,

    "//路由配置位址": "route.json",
    "routes": "route.json"
}將啟動指令寫在 package.json 中, 這樣就可以直接用 npm run mock 熟悉的語法了
{
    "scripts": {
        "mock": "json-server --c config.json -w db.json "
      }
}建立多檔案 json 結構
建立新的資料夾fake,並在package.json寫個 script:
{
    "scripts": {
        "fake": "json-server -w ./fake/db.js"
      }
}在 資料夾fake 建立 db.js 檔案
// db.js
// 必須是回傳一個return物件的function
module.exports = () => ({
  posts: [{ id: 1, title: "json-server", author: "typicode" }],
  comments: [{ id: 1, body: "some comment", postId: 1 }],
  profile: { name: "typicode" }
});執行劃面如下

拆解 db.js 檔案成多檔案 json
// db.js
// 必須是回傳一個return物件的function
const posts = require("./posts");
const comments = require("./comments");
const profile = require("./profile");
module.exports = () => ({
  posts,
  comments,
  profile
});其中 posts.js 檔案內容如下
// posts.js
module.exports = [{ id: 1, title: "json-server", author: "typicode" }];index.js 自動引入檔案
把資料拆分到多個不同檔案後,可以運用套件: glob 取出檔名來動態的引入檔案。
# Install glob with npm
npm i glob在 資料夾fake 建立 index.js
const Path = require("path");
const glob = require("glob");
const apiFiles = glob.sync(Path.resolve(__dirname, "./") + "/**/*.js", {
  nodir: true
});

console.log(apiFiles)
/**
 * apiFiles 會是
 * [
 *  'C:/progs/jsonServer/fake/comments.js',
 *  'C:/progs/jsonServer/fake/db.js',
 *  'C:/progs/jsonServer/fake/index.js',
 *  'C:/progs/jsonServer/fake/posts.js',
 *  'C:/progs/jsonServer/fake/profile.js'
 *  ]
 */

let data = {};

apiFiles.forEach(filePath => {
  const api = require(filePath);
  let [, url] = filePath.split("fake/"); // e.g. comments.js
  url = url.slice(0, url.length - 3)  // remove .js >> comments
  data[url] = api;
});

console.log(data)
/**
 * data會是
 * { 'comments': [ { id: 1, body: 'some comment', postId: 1 } ],
 * db: [Function (anonymous)],
 * index: {},
 * posts: [ { id: 1, title: 'json-server', author: 'typicode' } ],
 * profile: { name: 'typicode' }
 */

module.exports = () => {
  return data;
};不需要將 db.js 含入,把db.js改名為_db.js,把所有開頭為_的檔案不視為 API 接口,所以修改第三行 ,加入 "/**/[!_]*.js"
const Path = require("path");
const glob = require("glob");
const apiFiles = glob.sync(Path.resolve(__dirname, "./") + "/**/[!_]*.js", {
  nodir: true
});不需將 index.js 含入,在 apiFiles.forEach 中,判斷為 index.js 時,就不加入
let data = {};

apiFiles.forEach(filePath => {
  const api = require(filePath);
  let [, url] = filePath.split("fake/"); // e.g. comments.js
  url =
    url.slice(url) === "index.js"
      ? null // remove 'index.js'
      : url.slice(0, url.length - 3); // remove '.js'
  if (url) data[url] = api;
});監聽多檔案, 動態重啟
使用 nodemon 可以讓開發更為方便,當檔案有新增或內容有異動時,不需要手動重啟服務
使用 npm 安裝
# 安裝於全域
npm install nodemon -g

# 安裝於專案資料夾中
npm install --save-dev nodemon使用 yarn 安裝
# 安裝於全域
yarn global add nodemon

# 安裝於專案資料夾中
yarn add -D nodemon修改 package.json 中的 scripts
"scripts": {
 "fake-auto": "nodemon --watch fake --exec json-server ./fake/index.js"
}